Bake irresistibly sweet date cookies in just four easy steps. Learn clever tricks
Details
1 cookie (~ 30-35g per piece)
20 minutes
12-15 minutes
150 kcal
Table of Contents
Actually, I remember the first time I tried date cookies my grandma insisted they were the perfect midday treat, and she wasn’t wrong. But here’s the twist: I’ve also become super curious about lavash bread nutrition recently, because, you know, Middle Eastern cuisine has so many hidden gems. Now, date cookies may not scream “flatbread,” but trust me, there’s a surprisingly relevant link in how we think about healthy baking. In fact, mixing in some mindful techniques, like the ones often used when exploring lavash bread nutrition, can lead to a tastier and dare I say, healthier cookie.
We’re about to explore how to whip up absolutely scrumptious date cookies in four straightforward steps, no complicated kitchen wizardry required. So, if you’re all about sweet treats and a dash of wholesome flair, you’re in the right place. Genuinely, I can’t wait for you to try these!
What Makes Date Cookies So Delicious?
We’ve all tasted chocolate chip cookies or snickerdoodles, but date cookies stand out in a league of their own. Comparatively, they bring natural sweetness without that processed sugar buzz. And, let’s be real, sometimes you want to feel a bit better about indulging, right?
- Natural Sweetness of Dates: Dates are like the all-stars of dried fruit, no joke. They add a caramel ish quality that’s basically dessert’s version of a warm hug.
- Crispy on the Outside, Soft on the Inside: You know that perfect cookie texture? Where the edges are nice and firm, but the center is chewy? Yup, that’s the magic you can get with date cookies.
- Nostalgic Aroma: Ever walk into a kitchen where cookies are baking and think, “If cozy had a smell, this would be it!” That’s the vibe.
- Nutritional Perks: Dates aren’t just sugar bombs. They come with fiber and essential minerals like potassium and magnesium. So, basically, you’re sneaking in some nutrients while munching on a cookie.
Key Equipment You’ll Need
Before you rush off to preheat your oven, let’s make sure you’re armed with the right tools. Equally important is to remember that quality tools can make or break your cookie game. Basically, old, warped baking sheets might mess with your cookie’s shape. Been there, done that.
- Mixing Bowls: Preferably one large and one medium.
- Electric Mixer (handheld or stand mixer): To cream butter and sugar to that fluffy consistency.
- Spatula: For folding in any extra ingredients or scraping down the bowl.
- Baking Sheets: Nonstick or lined with parchment paper.
- Cooling Rack: Helps your cookies cool quickly and evenly.
Mastering Date Cookies in Simple Steps
This is the main event your official blueprint for making the best date cookies you’ve ever tasted. Actually, you might find yourself saying, “Wait, that’s it?” once you see how straightforward it is.
Ingredients you’ll need
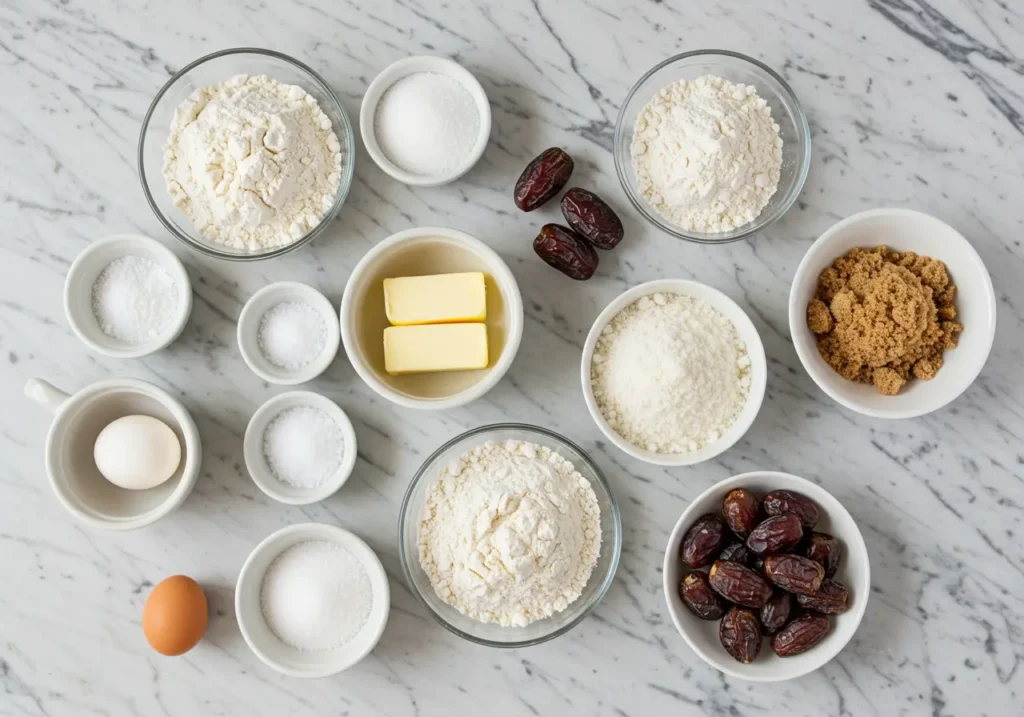
- For the Dough:
- 2 ½ cups all-purpose flour
- 1 cup unsalted butter, softened
- ½ cup sugar
- 1 tsp vanilla extract
- 1 egg
- ½ tsp salt
- 1 tsp baking powder
For the Date Filling:
- 1 ½ cups pitted dates, chopped
- ½ cup water
- 2 tbsp honey or maple syrup
- ½ tsp cinnamon
- ½ tsp orange zest (optional, but makes a difference!)
Factually, these ingredients combine so harmoniously. The dates add moisture and sweetness, while the butter and sugars create that classic cookie taste. Also, feel free to experiment with add-ins like chopped nuts or coconut flakes if you’re feeling adventurous.
Step by Step Cooking Instructions
Step 1: Gather Your Ingredients
I’m a big believer that each ingredient should shine. Consequently, I always recommend picking the best quality you can manage. Here’s what you’ll need on the table:
Step 2: Prepare the Dough
First off, let’s get that dough going. If you’re using a stand mixer, attach the paddle. Otherwise, a handheld mixer works just fine.
first step: In a saucepan over medium heat, cook the dates with water, honey, cinnamon, and orange zest. Stir until soft and jam-like. Let it cool.
Second step Combine the Dry Ingredients: In a bowl, whisk together flour, baking powder, baking soda, and salt.
Step 3:
In a large mixing bowl, cream together the softened butter and sugar until light and fluffy. Add the egg and vanilla extract, mixing well. Gradually add the flour, baking powder, and salt, stirring until a soft dough forms. Cover the dough and let it rest for a few minutes.
Step 4:
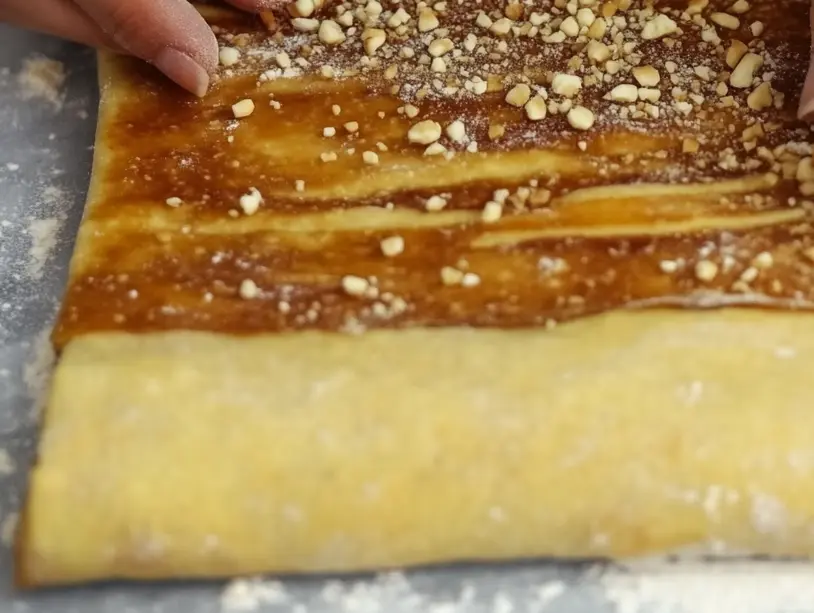
Roll the dough out into a rectangle on a lightly floured surface.
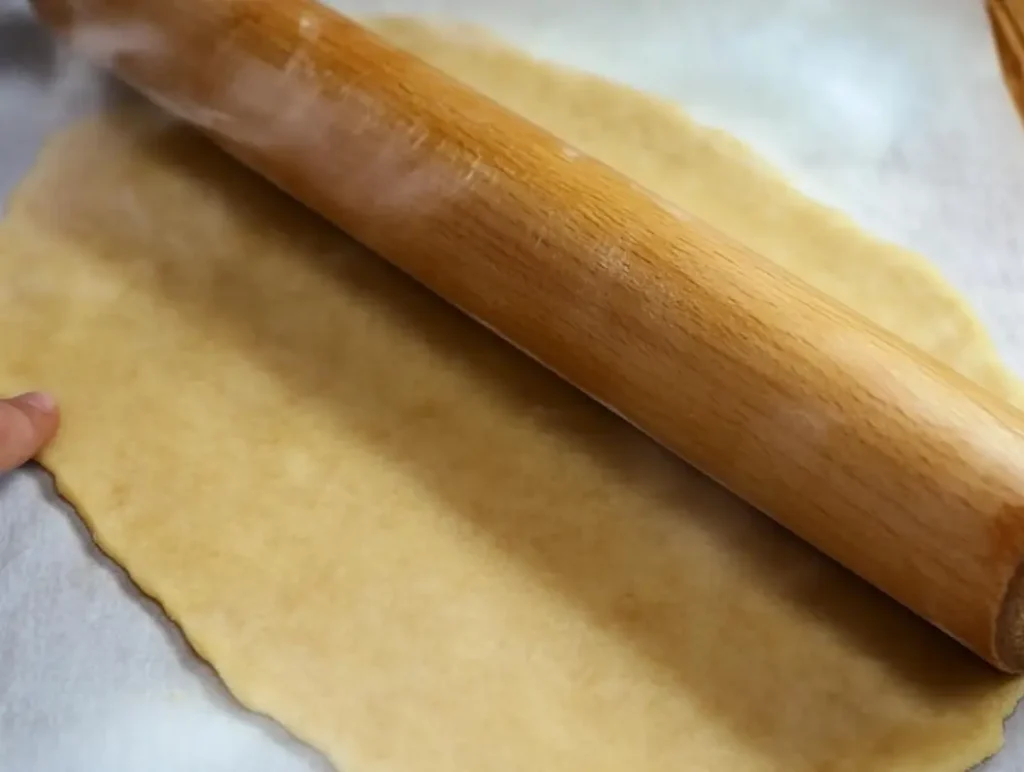
Evenly spread the cooled date filling over the dough.
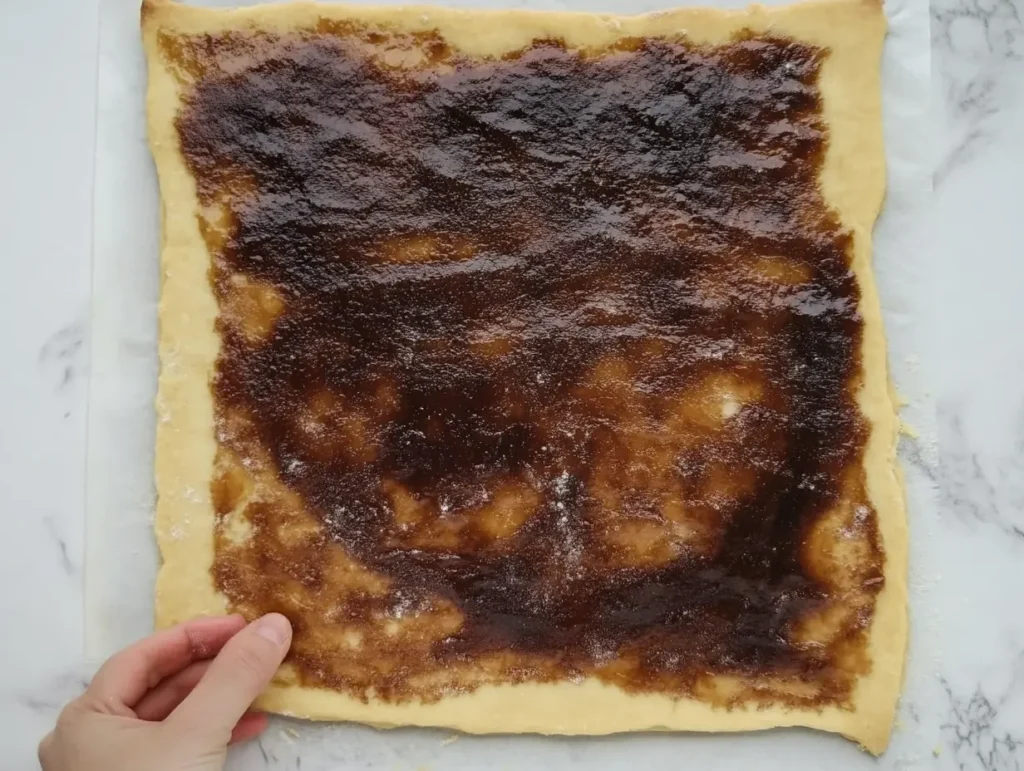
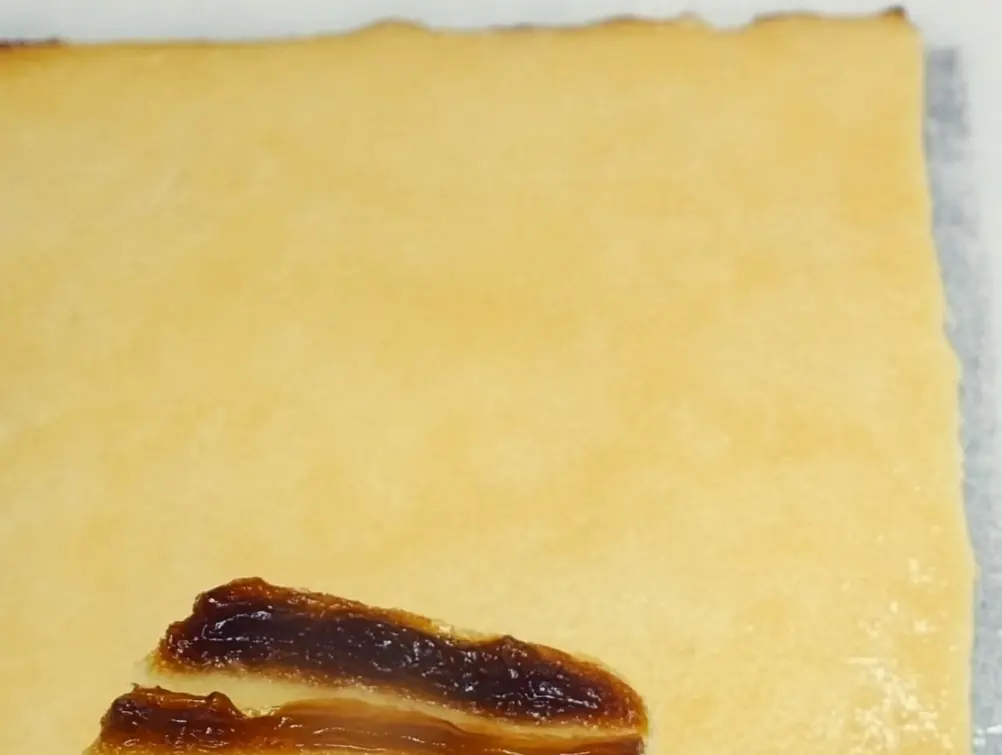
Carefully roll it up into a log, wrap it in plastic wrap, and refrigerate it for about 15 minutes to firm up.
Step 6:
Preheat your oven to 350°F (175°C). Slice the chilled dough log into rounds, about ½ inch thick, and place them on a parchment-lined baking sheet.
Honestly, it’s up to you. Meanwhile, let’s keep a bit of space (about 2 inches) between each cookie. They will spread a bit during baking.
Finally, the moment you’ve been waiting for. Baking times can vary by a minute or two, depending on your oven’s personality (yeah, ovens have personalities,mine loves to run hot). Bake for 12-15 minutes, or until the edges turn golden brown. Keep an eye on them.
Look for Lightly Golden Edges: The centers may still look soft, but they’ll firm up as they cool.
Cool on a Rack: Transfer the cookies to a cooling rack after about 2 minutes on the sheet.
Comparatively, if you’ve ever made chocolate chip cookies, this method is basically the same. Just be gentle and keep an eye on consistency. You want the dough to hold together easily but not be overly sticky.
- Proper Cooling: Transfer the cookies to a wire rack after a short rest on the baking sheet.
- Decorate, If You Dare: Drizzle with a simple icing made of powdered sugar and milk, or dust with a pinch of powdered sugar for an elegant finish.
- Chocolate Dip: Dip half the cookie in melted chocolate and let it harden on parchment paper.
Don’t worry no one’s gonna judge you if you sneak one while they’re still warm.
Serving Suggestions for Freshly Baked Date Cookies
You’ve done the hard work, so serve these beauties in style. When date cookies are fresh out of the oven, they deserve the spotlight.
- Coffee Pairing: Enjoy them with a latte or black coffee. Actually, the caramel tones of the dates complement coffee’s bitterness like a dream.
- Milk and Cookies: A total classic.
- Party Platter: Arrange them with other holiday-themed cookies. For real, they’ll stand out like a star.
- Gift Boxes: Wrap them in festive packaging for birthdays or holiday parties. People adore homemade gifts that taste amazing.
Common Mistakes to Avoid
Sometimes, we all slip up. I’ve definitely ended up with cookies that could double as hockey pucks. Consequently, I compiled the biggest pitfalls so you can steer clear.
- Overmixing the Dough: If you whip that dough like you’re punishing it, you’ll end up with tough cookies. Mix until just combined.
- Using Old or Dried-Out Dates: If your dates are stale, your cookies might lack that rich, gooey center. Always use fresh, plump dates.
- Incorrect Oven Temperature: Double check that oven thermometer because a difference of 10-15°F can ruin your batch.
- Ignoring Ingredient Quality: Butter matters. Flour quality matters. Even the brand of vanilla extract can alter your cookie’s taste. Go for the good stuff.
Nutritional Overview
While they might not replace your kale smoothie, these cookies pack some decent nutrients, chiefly due to dates and quality ingredients. But always remember, moderation is the name of the game. Check the recipe card
How to Store Date Cookies for Lasting Freshness
Real talk: these treats rarely last more than a couple days in my house. But if you want to keep them around a little longer:
- Room Temperature: Store in an airtight container lined with parchment paper. Separate layers with parchment to avoid sticking. They’ll stay fresh for 4-5 days.
- Refrigeration: Extend their life up to 7-10 days, especially if they contain a rich filling.
- Freezing: Place cooled cookies in a freezer-safe zip-top bag. They’ll last up to 3 months. Thaw them at room temperature.
Trust me, the freezer trick works wonders, particularly if you want to make a big batch in advance.
Variations and Flavor Twists
I’m a big fan of switching things up. Because, let’s be honest, no one likes the same old same old all the time.
- Chocolate Chip Date Cookies: Throw in half a cup of chocolate chips for an epic flavor mashup.
- Nutty Boost: Almonds, walnuts, or even pistachios can add crunch and complexity.
- Spiced Heaven: Cinnamon, nutmeg, ginger—whatever floats your boat.
- Coconut Craze: Mix in shredded coconut for a tropical flair.
Seriously, get creative. Meanwhile, you’ll probably stumble upon a new favorite version—maybe even your own signature recipe.
Frequently Asked Questions (FAQs)
Why are my cookies too hard?
If your date cookies feel like bricks, you might have overbaked them or used too much flour. Ensure you measure accurately, and consider pulling them out of the oven a minute earlier.
Can I make a gluten-free version?
Absolutely. Substitute all-purpose flour with a 1:1 gluten-free baking blend. Additionally, keep an eye on the texture, as you may need a bit more liquid.
Why did my cookies spread too much?
Warm or melted butter can cause excessive spreading. Ensure your butter is softened but still cool. Also, chilling your dough for 30 minutes can help the cookies maintain their shape.
Are these cookies okay for vegans?
You can make them vegan by using plant-based butter or coconut oil and swapping the egg for a flax egg (1 tablespoon ground flaxseed + 3 tablespoons water). The result is still super tasty.
How can I reheat frozen cookies?
A quick 5-minute warm-up in a 350°F oven does the trick. They come out tasting fresh and smelling amazing.
Conclusion
As a matter of fact, I was skeptical when I first heard about date cookies, but now I’m hooked. They’re soft, flavorful, and so easy to customize. Basically, they fit into any occasion you can dream up holidays, potlucks, or even lazy Sunday afternoons. If you’ve been searching for that one cookie recipe that’ll wow your friends (and your own taste buds, obviously), this is it.
So what are you waiting for? Grab those dates, whip up the dough, and get ready to munch on pure cookie bliss. And hey, if you do try this recipe, I’d love to know how it goes for you. Drop a comment, send a smoke signal, anything! Now go out there and conquer these date cookies like a pro baker.
Print
The Best Date Cookies in 5 Simple Steps
- Total Time: TT35M
- Yield: 20–24 cookies 1x
- Diet: Low Salt
Description
These delicious Date Cookies combine a buttery, soft dough with a sweet and spiced date filling. Perfectly golden with a slightly crisp edge, they’re a delightful treat for any occasion.
Ingredients
For the Dough:
- 2 ½ cups all-purpose flour
- 1 cup unsalted butter, softened
- ½ cup sugar
- 1 tsp vanilla extract
- 1 egg
- ½ tsp salt
- 1 tsp baking powder
For the Date Filling:
- 1 ½ cups pitted dates, chopped
- ½ cup water
- 2 tbsp honey or maple syrup
- ½ tsp cinnamon
- ½ tsp orange zest (optional, but adds great flavor!)
Instructions
Step 1: Prepare the Date Filling
- In a saucepan over medium heat, combine chopped dates, water, honey (or maple syrup), cinnamon, and orange zest.
- Stir continuously until the mixture becomes soft and jam-like.
- Let it cool completely before using.
Step 2: Prepare the Dough
- In a bowl, whisk together flour, baking powder, and salt.
- In a separate large mixing bowl, cream together butter and sugar until light and fluffy.
- Add egg and vanilla extract, mixing well.
- Gradually incorporate the dry ingredients until a soft dough forms.
Step 3: Assemble the Cookies
- Roll out the dough into a rectangle on a lightly floured surface.
- Evenly spread the cooled date filling over the dough.
- Carefully roll the dough into a log and wrap it in plastic wrap.
- Refrigerate for about 15 minutes to firm up.
Step 4: Slice and Bake
- Preheat your oven to 350°F (175°C).
- Slice the chilled dough into ½-inch thick rounds and place them on a parchment-lined baking sheet.
- Leave about 2 inches of space between each cookie.
- Bake for 12-15 minutes, or until the edges turn golden brown.
Step 5: Cool and Serve
- Let cookies rest on the baking sheet for 2 minutes, then transfer them to a cooling rack.
- Optionally, drizzle with a simple icing (powdered sugar + milk) or dip in melted chocolate for a fancy finish.
- Enjoy warm or at room temperature!
Notes
- For extra crunch, mix in chopped nuts or coconut flakes to the filling.
- If you prefer a softer texture, reduce the baking time by 1-2 minutes.
- These cookies store well in an airtight container for up to 5 days.
- Prep Time: PT20M
- Cook Time: CT12-15M
- Category: Dessert
- Method: Baking
- Cuisine: International
Nutrition
- Serving Size: 1 cookie (approximately 30-35g per piece)
- Calories: 150 kcal
- Sugar: 10 g
- Fat: 8g
- Saturated Fat: 5 g
- Unsaturated Fat: 2g
- Trans Fat: 0g
- Carbohydrates: 20mg
- Fiber: 1g
- Protein: 2g
- Cholesterol: 20 mg
